Tuesday, December 28, 2010

Organizing your paint colors

As time passes, you will most likely have more and more paint
colors. This is how I easily find them. I have taken various
containers and labeled them with their basic color names.
(These are all oil paints.)
You will also see that I have a small set of colors which I have
left in the box below these containers. In a few cases, I
decided to keep the same brand of paint together.
These are suggestions that might make it easier for you to
find your colors more quickly, if you have quite a lot of it.
But the other thing it does is that you can easily see when
you are low on colors and can restock before you run out!

Friday, December 10, 2010

Prevent Liquin from drying up

I went through a lot of bottles of Liquin
before I figured this out. They would dry
out and I would have to throw them away
without getting my money's worth.
So now I turn the larger bottle upside
down and then there is no air there
to dry out this very useful medium! The
smaller jar that you see is where I put a
small amount to work from. If you look
carefully, you will see that the glass part of
that little jar is lighter in color than the big
bottle. That is stuff that is all dried up
on the sides of the jar. I just pour about
a half inch of Liquin in that jar and with
all these clever tricks, I now get my money's
worth!
I hope you find this helpful.

Sunday, November 28, 2010

Make closeups

This is a helping tool for when you are painting something that
has a lot of detail that you may not be seeing too clearly, even
though it is right there in front of you. Take a photograph,
a close-up of the detail and study that.
I did this recently for a student who was having trouble seeing
the way the lines of the pattern curved around. With the
photograph that you see above, it became much easier to see
what was actually happening. And she drew it correctly!

Friday, November 26, 2010

Have company in your studio

The possibilities are almost endless as to what could be written upon seeing this photograph.
This is Lucy, studio mascot.
She is sunbathing, or at least being in the spotlight at which she is very accomplished.
Having a cat in one's studio while doing one's solitary work is really great.
She is a very social gal and keeps me company, as well as my students.
And she knows she is the star!

Tuesday, August 3, 2010

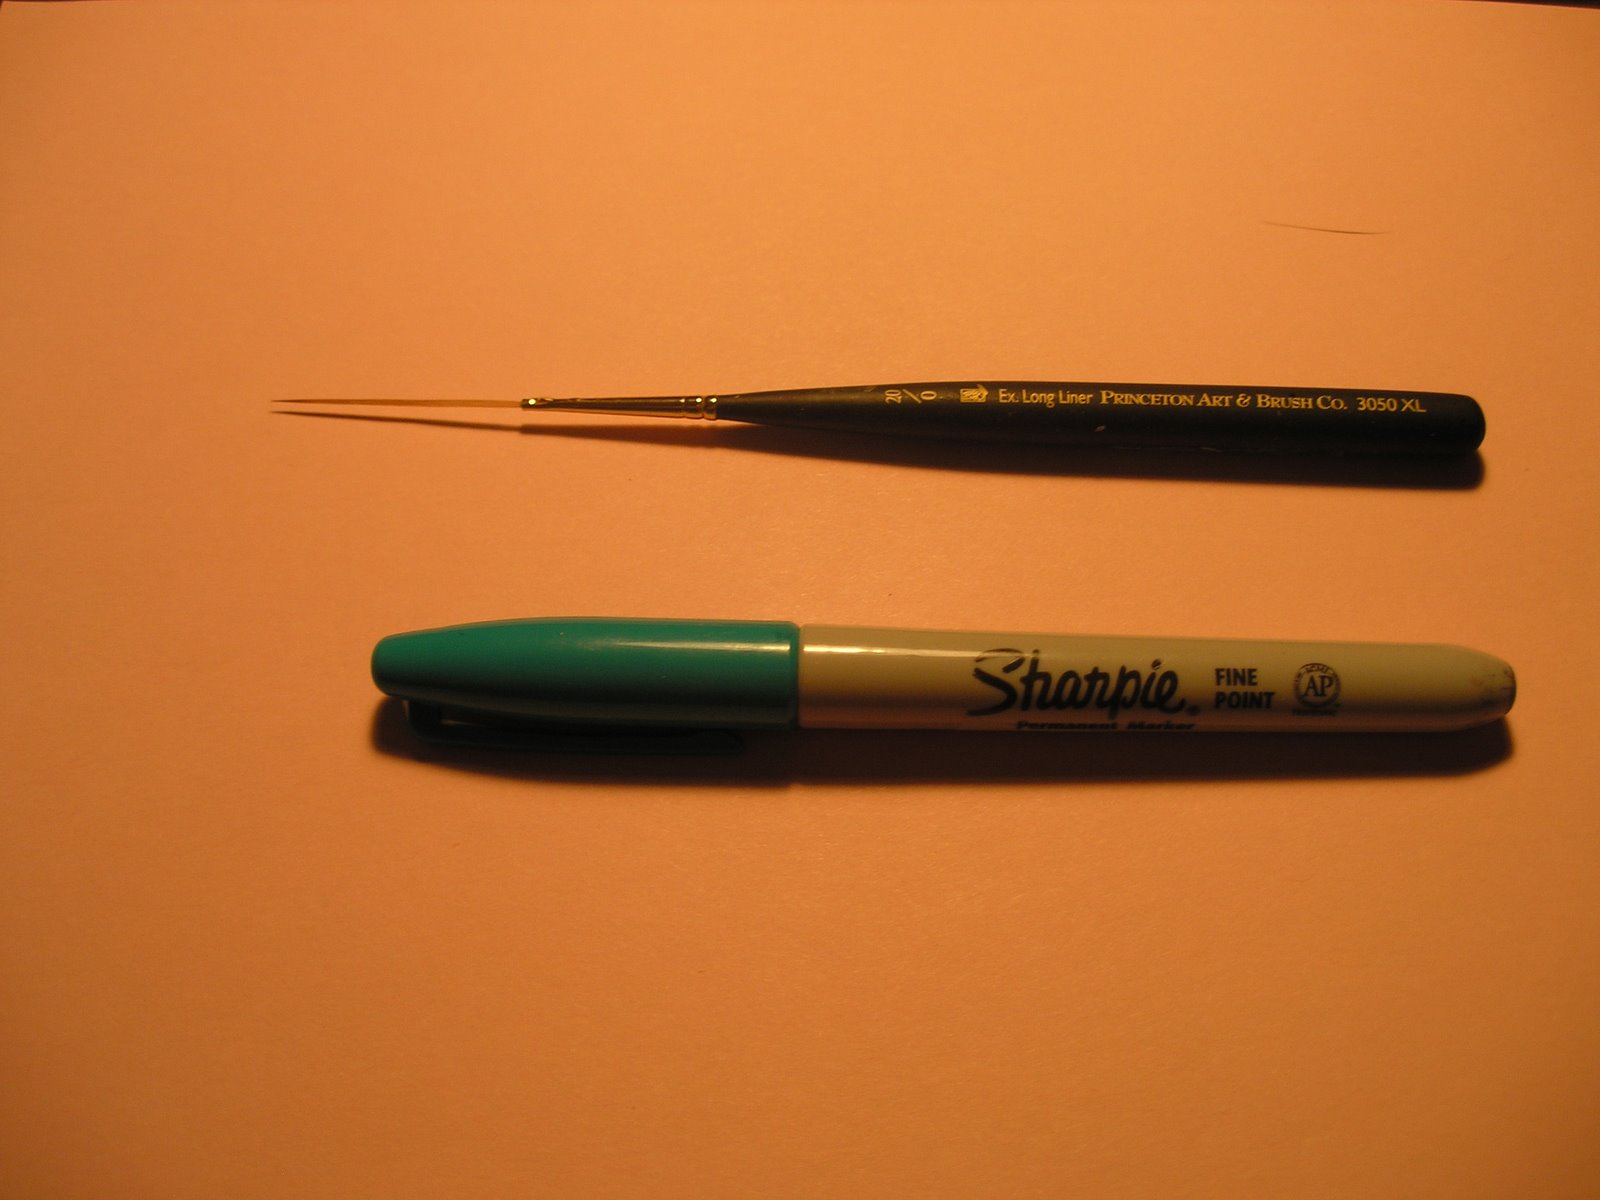
Teeny tiny brush is very useful


First you see the dry brush and how few hairs it has!

Next you see its size next to a Sharpie pen.

Then you see it on my palette and that is what I'm going to
tell you about.


To properly use this brush, you have to spread out a smear
of slightly thinned paint (the longest smear on my palette
in this photo). Flatten the smear with your palette knife so
that it is easy to pick up on the brush. Then hold the brush
so that it is practically parallel with the palette surface and
twirl it so as to get it all evenly covered with paint.

I use this brush for jobs such as painting whiskers on my
cat paintings!

Sunday, August 1, 2010

Try it out without committing!


The top image is the original painting (acrylic).
It is the work of a student of mine.
If you are nearing the end of a painting and need
to try out additional elements then here is a way
to do it without putting on paint that you may have
to take off and also wreck affects that are underneath
that you like and want to preserve.
Take colored paper and cut out shapes and lay them
on the painting til you like what you have. I have
done this in two arrangements. Of course I could
have cut different shapes in different sizes, but I
think this communicates the general idea.

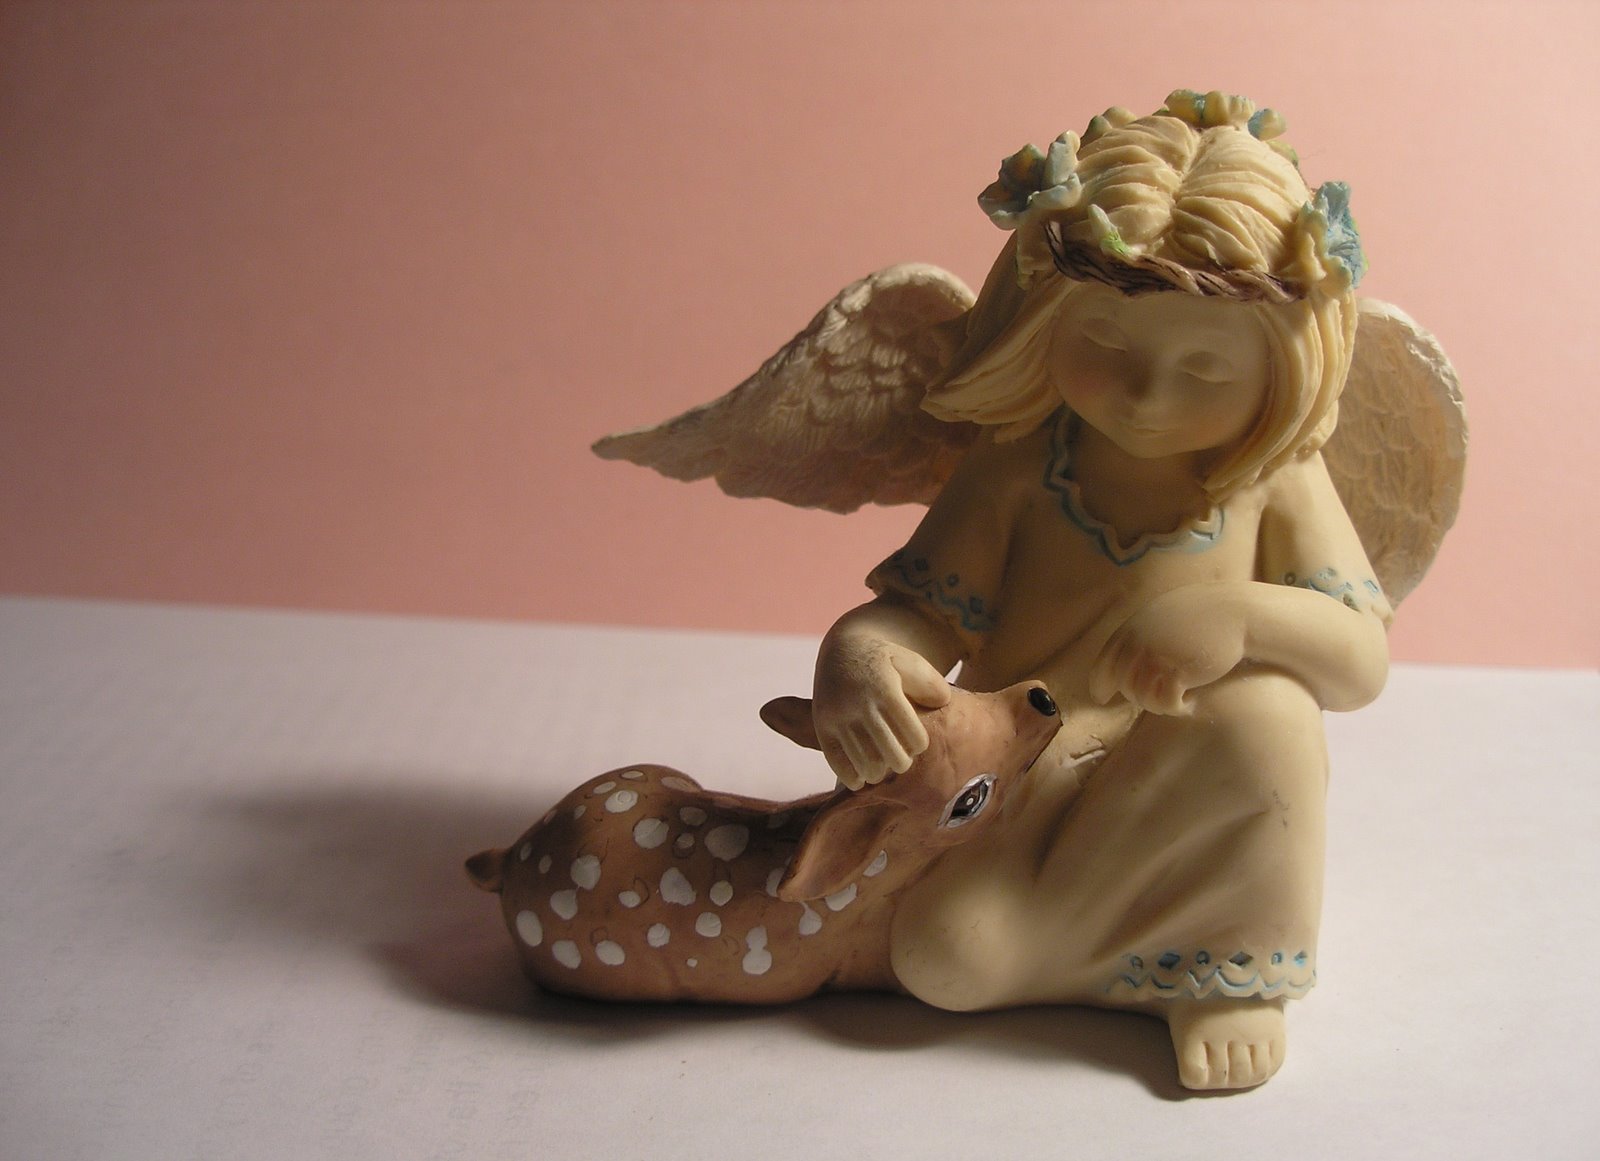
Nothing is too small!


This sweet statue is actually only two inches tall.
A student brought it to class so I could see it after
she had done a drawing of it.
But it was so small, it was hard to see the details.

So I told her to take a photograph of it and enlarge
it so she could see the details well enough to draw
it.

I took this photo with my studio camera to show
her what a difference it makes to really see all the
details! I put it on a plain background that enhanced
the figurine and then lit it with my desk lamp to
create what you see here!