Tuesday, August 3, 2010

Teeny tiny brush is very useful


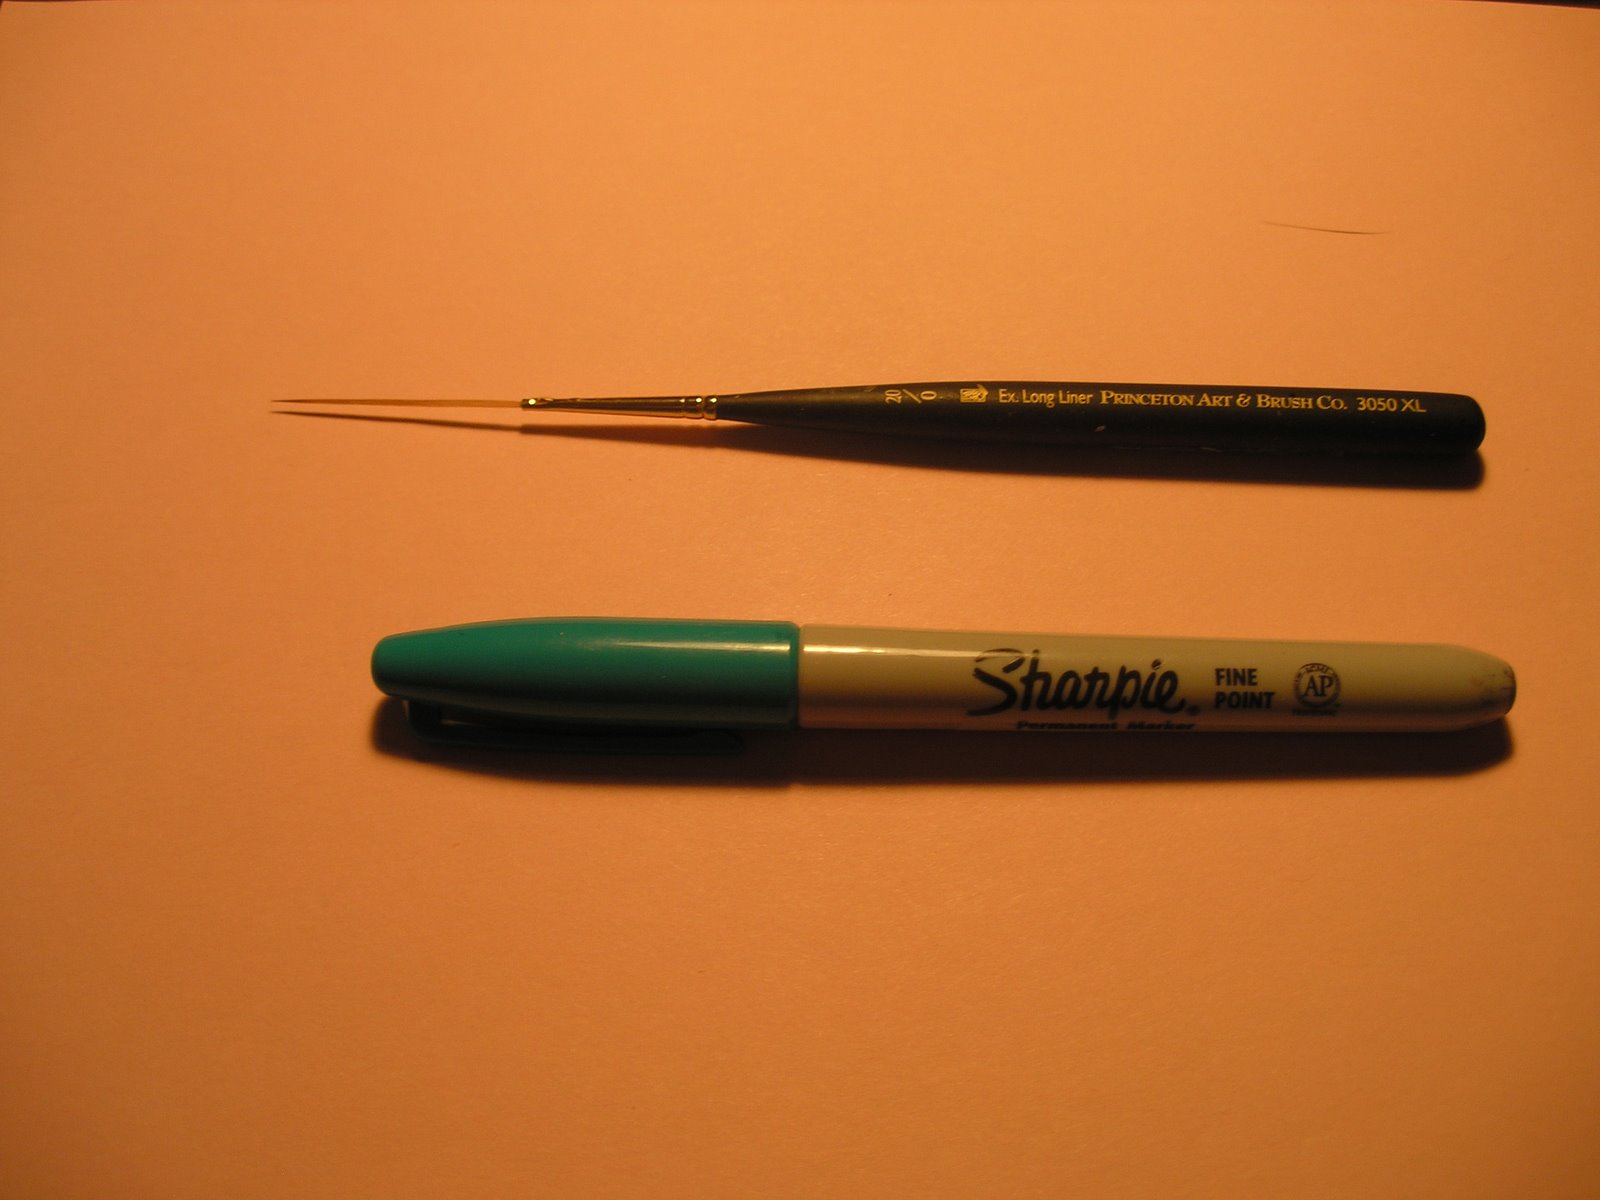
First you see the dry brush and how few hairs it has!

Next you see its size next to a Sharpie pen.

Then you see it on my palette and that is what I'm going to
tell you about.


To properly use this brush, you have to spread out a smear
of slightly thinned paint (the longest smear on my palette
in this photo). Flatten the smear with your palette knife so
that it is easy to pick up on the brush. Then hold the brush
so that it is practically parallel with the palette surface and
twirl it so as to get it all evenly covered with paint.

I use this brush for jobs such as painting whiskers on my
cat paintings!

Sunday, August 1, 2010

Try it out without committing!


The top image is the original painting (acrylic).
It is the work of a student of mine.
If you are nearing the end of a painting and need
to try out additional elements then here is a way
to do it without putting on paint that you may have
to take off and also wreck affects that are underneath
that you like and want to preserve.
Take colored paper and cut out shapes and lay them
on the painting til you like what you have. I have
done this in two arrangements. Of course I could
have cut different shapes in different sizes, but I
think this communicates the general idea.

Nothing is too small!


This sweet statue is actually only two inches tall.
A student brought it to class so I could see it after
she had done a drawing of it.
But it was so small, it was hard to see the details.

So I told her to take a photograph of it and enlarge
it so she could see the details well enough to draw
it.

I took this photo with my studio camera to show
her what a difference it makes to really see all the
details! I put it on a plain background that enhanced
the figurine and then lit it with my desk lamp to
create what you see here!